Hello and welcome to the website for my panorama bracket,if you by my kit you will be able to take first class panoramas and perfectly joined QVTR movies and you need not buy anything else. I make these in my own workshop out of Brass,Stainless Steel and Aluminium I anodise my self,each one is individualy made so if you are looking for injection moulded plastics and cosmetic pefection you will not find it here.On the other hand if you want seemless QVTR movies(which are really 360 deg panos) and perfectly straight panoramas you will find the kit I use to do this. Follow the setup instructions ( I will try to cover every detail) and you will be able to set up the kit and take your panorama in less than 5 minutes,you dont even need to look through the view finder before you take each image. On the next pages you will find detailed setup instructions and some theory,but if you are not interested in the mechanics of whats going on just follow the setup instructions and the examples and ignore the theory you don't need to know it to take first rate panoramas.
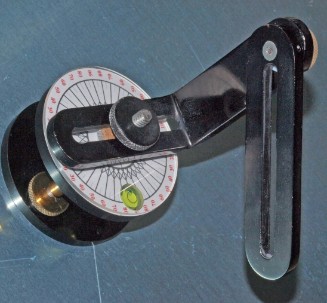
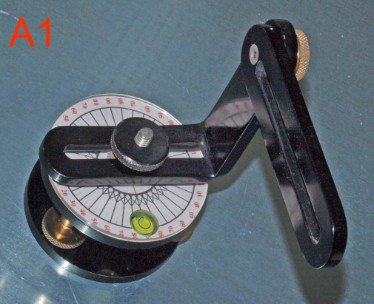
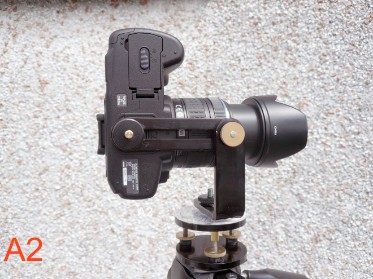
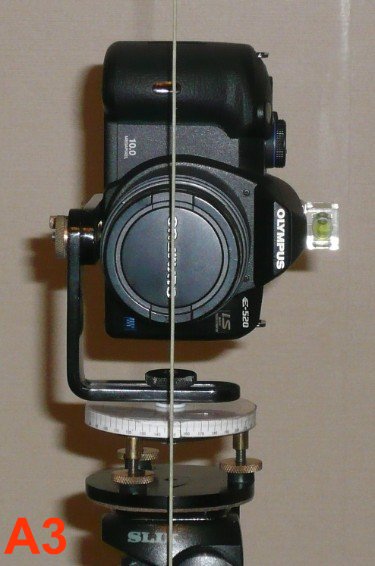
Setup Now comes the issue of setup, there is really only one issue with taking panoramas and that is to rotate the camera around the right point. The correct term for this point is the entrance pupil (often wrongly called the nodal point) If you look into the front of a stopped down lens you can see the entrance pupil, it’s the bright spot in the middle of the lens. To take a perfect panorama and especially a QVTR movie you need your camera to rotate around this point. Light only travels in straight lines and the image that hits the camera CCD is upside down,the point we want to rotate the camera around is the point where the light rays cross.This is called the entrance pupil. Incidentally the exact same thing happens with our eyes,the image hits the retiner upside down and the brain flips it the right way up. Here is a little excercise to demonstrate.
 |